Why does footage from the same drone look flat and noisy in one person's hands and clean and cinematic in another's? Rarely because of the hardware. Drone cameras sit on small sensors with limited dynamic range, and auto mode makes the safest average choice in every situation — which is exactly how you get grey skies, smeared shadows and clips that fall apart the moment you try to grade them. The fix is not a better drone; it is a short list of camera settings, applied in the right order.
None of this is drone-specific magic. It is photography fundamentals under tighter constraints: less sensor, no tripod, and light you cannot reposition.
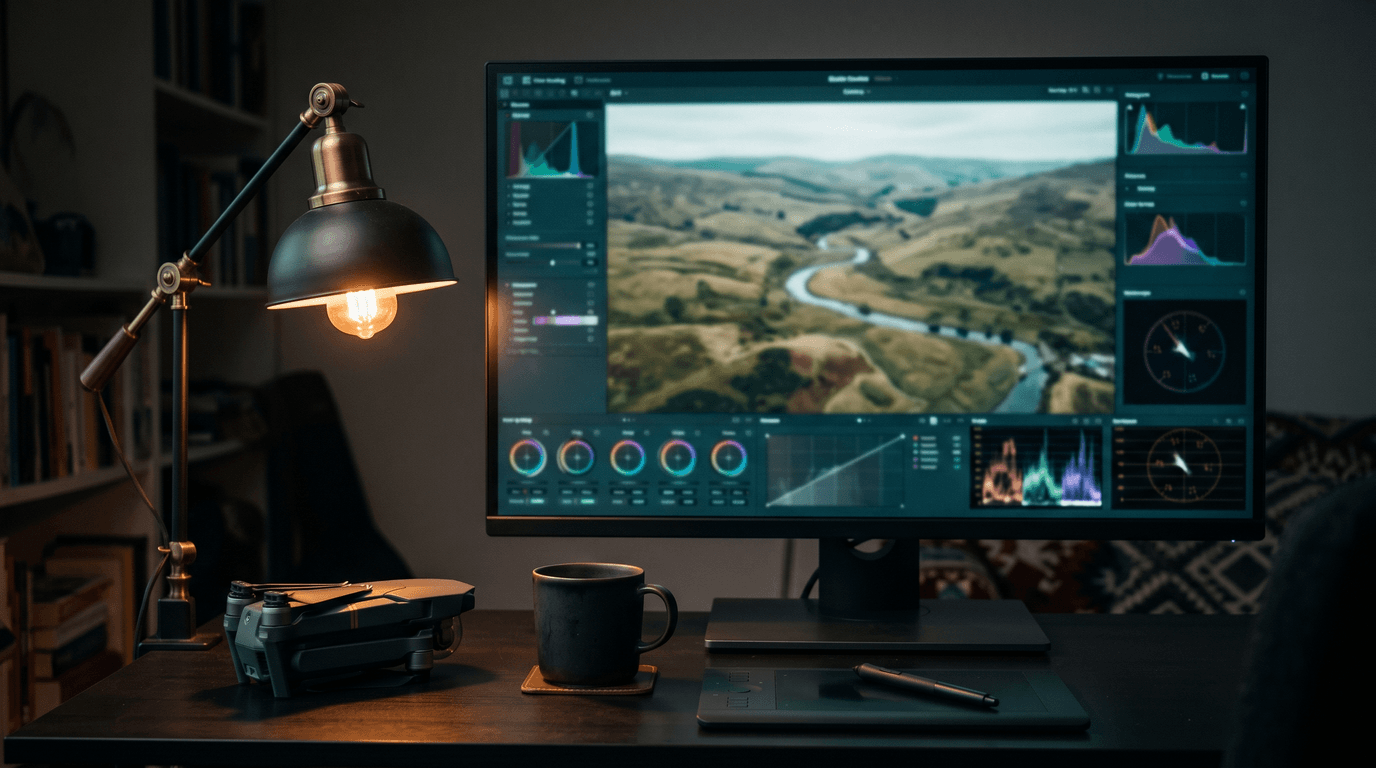
Shoot RAW for photos, flat for video — if you plan to edit
A RAW file (on most drones, Adobe's DNG format) stores the unprocessed data from the sensor instead of a compressed, already-interpreted JPG. Exposure, white balance and highlight recovery remain decisions you make later, on a large screen, rather than ones the camera locks in mid-flight. For any photo you intend to edit, RAW is the default; for straight-to-social snapshots, JPG is fine, and most drones will happily record both at once.
Video has the same logic under a different name. A flat or log picture profile compresses a wider dynamic range into the recording, keeping highlight and shadow detail that a punchy standard profile throws away. The trade is that flat footage requires grading — straight off the card it looks washed out. So the honest rule: if you grade, shoot flat or log (in 10-bit where the camera offers it); if you never open an editor, use the standard profile and let the camera do the look.
The 180-degree shutter rule — and why it ends in ND filters
Film and cinema converged long ago on a shutter angle near 180 degrees, which translates to a simple formula: shutter speed ≈ 1 / (2 × frame rate). At 25 fps that is 1/50; at 30 fps, 1/60. Motion recorded this way carries a natural amount of blur — the look audiences read as "cinematic". Let auto exposure push the shutter to 1/1000 on a bright day and every frame is razor sharp, so panning shots and moving objects stutter with a staccato, video-game feel.
Here is the drone-specific catch. Many drone cameras have a fixed aperture, so the only exposure levers left are ISO and shutter. Hold ISO at base (see below), lock the shutter at 1/50 in daylight, and the image is hopelessly overexposed. The missing lever is a neutral density filter — sunglasses for the lens — which cuts incoming light without touching colour. That is why the 180-degree rule, followed seriously, always pulls you toward a set of NDs; the ND filters guide covers which strengths to carry and when.
For photos the rule does not apply: a stationary drone shooting stills can use whatever shutter speed exposure demands.
Keep ISO at base — the small sensor is the real constraint
ISO does not add light; it amplifies the signal the sensor already captured — noise included. On a full-frame camera you can climb several stops before the image degrades visibly. On the small sensors that most drones fly, the ceiling arrives much sooner: shadows turn grainy, colour fidelity drops, and the noise reduction that tries to hide it smears fine detail.
So treat base ISO (typically the lowest native value) as the default, and everything above it as a cost you accept knowingly. When light runs out, the better levers are a slower shutter (for stills), a weaker ND, or simply flying at a different hour — the same golden-hour light that flatters every landscape also happens to sit comfortably within a small sensor's dynamic range.
Lock white balance before you record
Auto white balance re-evaluates the scene continuously. In a static ground shot nobody notices; in a drone clip that pans from sunlit field to shaded forest, the whole image visibly shifts from warm to cool mid-take — a drifting error that is painful to correct in the edit.
The habit that fixes it costs five seconds: set white balance manually before recording — a preset like "sunny" or "cloudy", or a Kelvin value. If it turns out slightly wrong, a consistent error corrects in one adjustment in post. For RAW photos this matters less, since white balance travels as metadata you can change freely afterwards.
Resolution and frame rate: pick for the edit, not the spec sheet
The trade-off is generic and worth stating plainly:
- 4K at 24–30 fps — maximum detail per frame, room to crop and stabilise in post; the default for normal storytelling.
- Higher frame rates (60 fps and up) — the raw material for slow motion, at the price of detail: many cameras crop the sensor, drop to a lower resolution or reduce bitrate at high frame rates. Check what your specific camera sacrifices before making 60 fps your default.
Shooting everything at high frame rate "just in case" is a common beginner default and usually the wrong one — most footage is never slowed down, and the detail loss is permanent. Plan the shot: if it will be a slow reveal or a cinematic move at normal speed, take the resolution.
Trust the histogram, not the phone screen
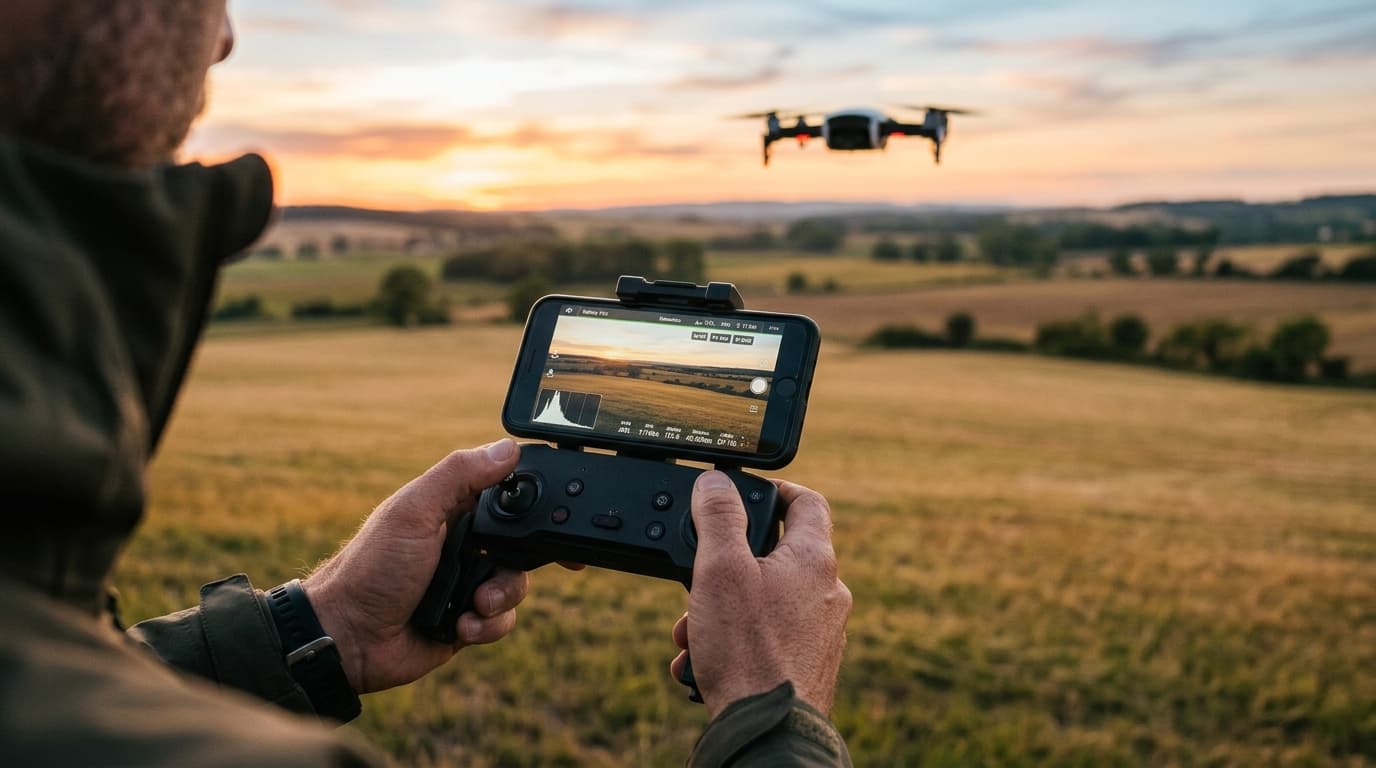
A phone screen in direct sunlight is the least reliable exposure meter you own. Screen brightness, reflections and your own adaptation to daylight all conspire to make clipped skies look fine at the moment of capture. Most drone camera apps expose two instruments that do not lie:
- the histogram — a graph of tonal distribution; data piled against the right edge means blown highlights that no grading will recover
- zebras (overexposure warnings) — striped overlays painted directly onto the areas that are clipping
Exposing so that highlights sit just short of clipping keeps the maximum usable signal. For genuinely high-contrast scenes — sunsets, bright sky over dark ground — use AEB (auto exposure bracketing): the drone fires three or five frames at different exposures in one burst, and you merge them later into a single image that holds both the sky and the shadows.
Before any of this matters, the flight must be legal
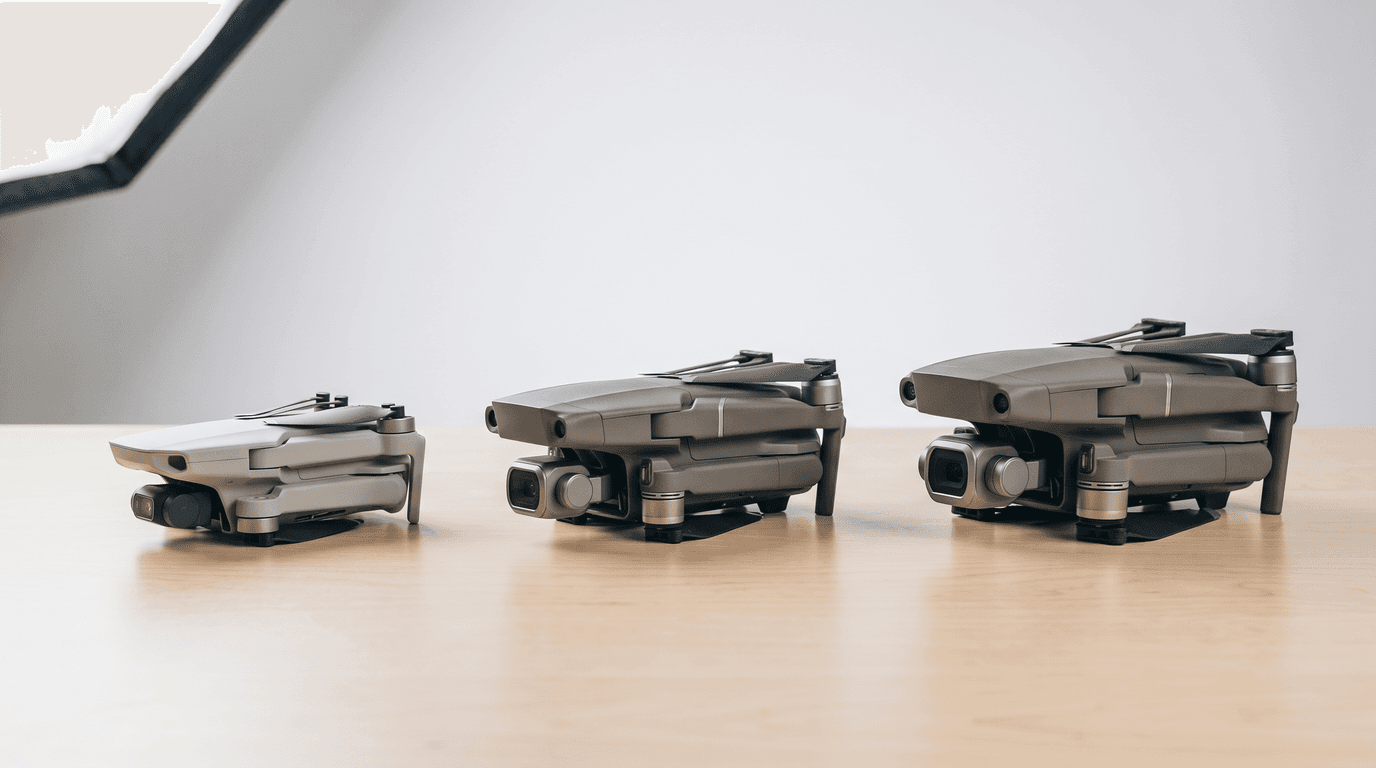
Camera settings are the last item on the preflight list, not the first. In the EU, the fact that your drone carries a camera is itself legally significant: it means operator registration is required even for sub-250 g aircraft — the under-250 g rules are lighter than most, but they are not zero. Heavier drones add a certificate requirement, and every flight starts with a geo-zone check for the actual location. If you are not sure which category and paperwork your drone falls under, the category tool answers it in a minute, and the Mini vs Air vs Mavic comparison shows how the weight bands map to certificates.
The takeaway
One sequence covers ninety percent of it: RAW for photos and a flat profile for graded video, shutter at 1/(2× frame rate) with the ND filter that makes it possible, ISO parked at base, white balance locked before recording, resolution chosen for the edit, and exposure judged from the histogram rather than the screen. Fly legally first — the certificate, registration and geo-zone check come before the camera ever rolls. The A1/A3 course gets that part done, so the settings are the only thing left to think about in the air.