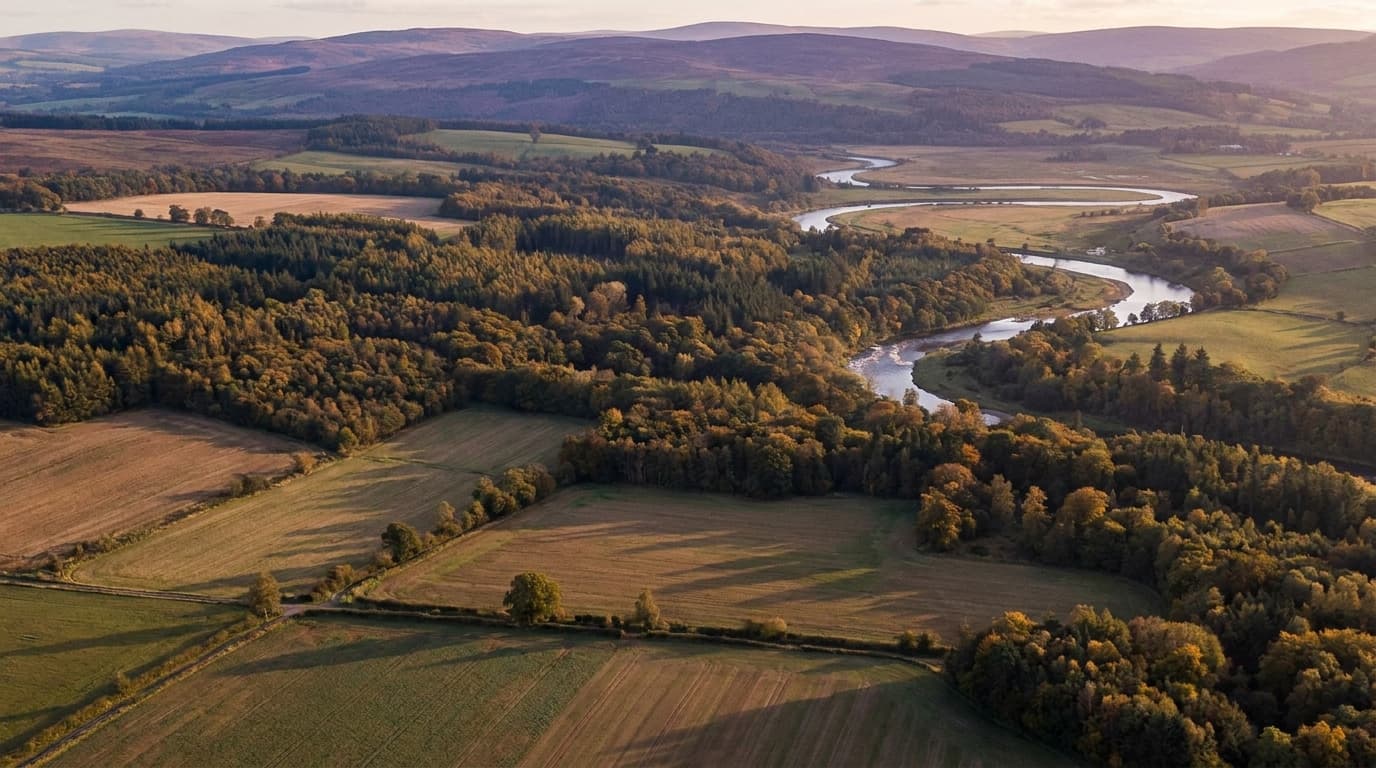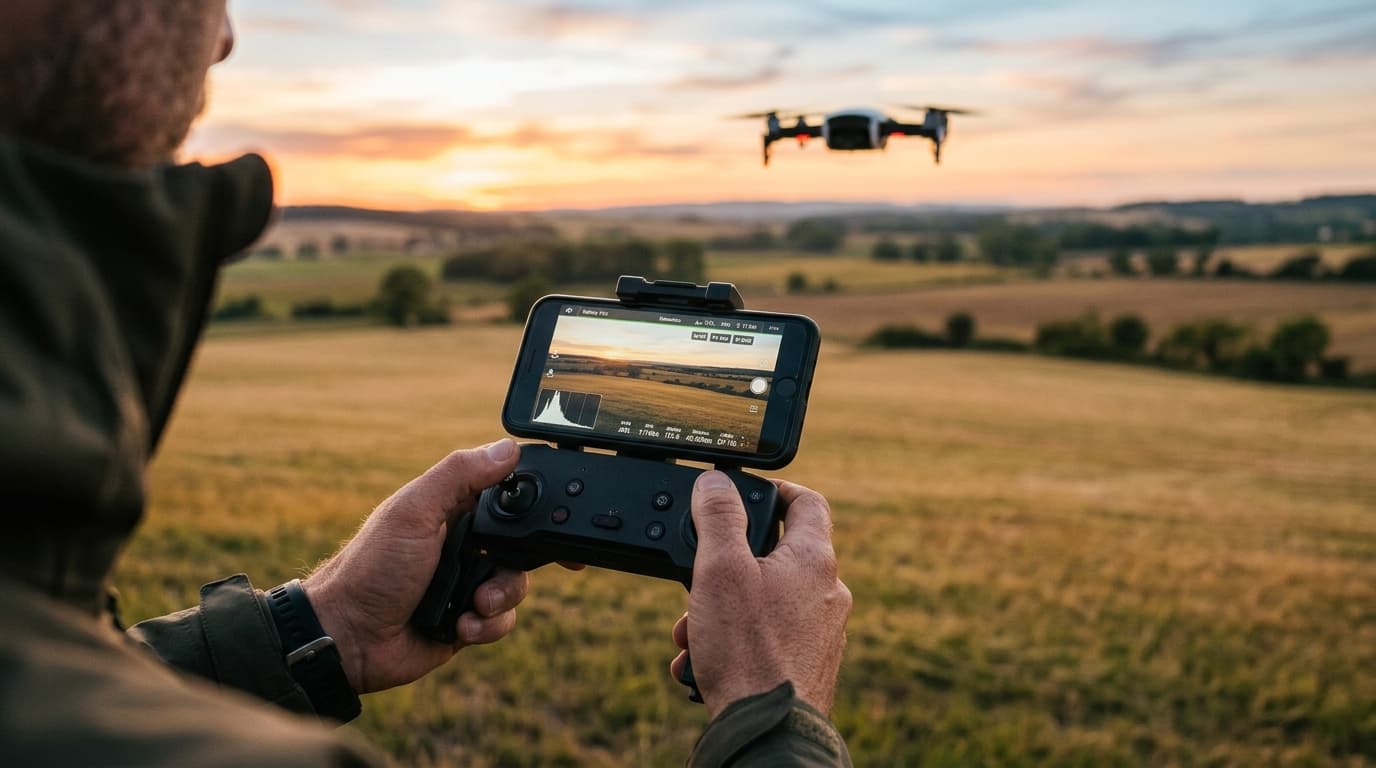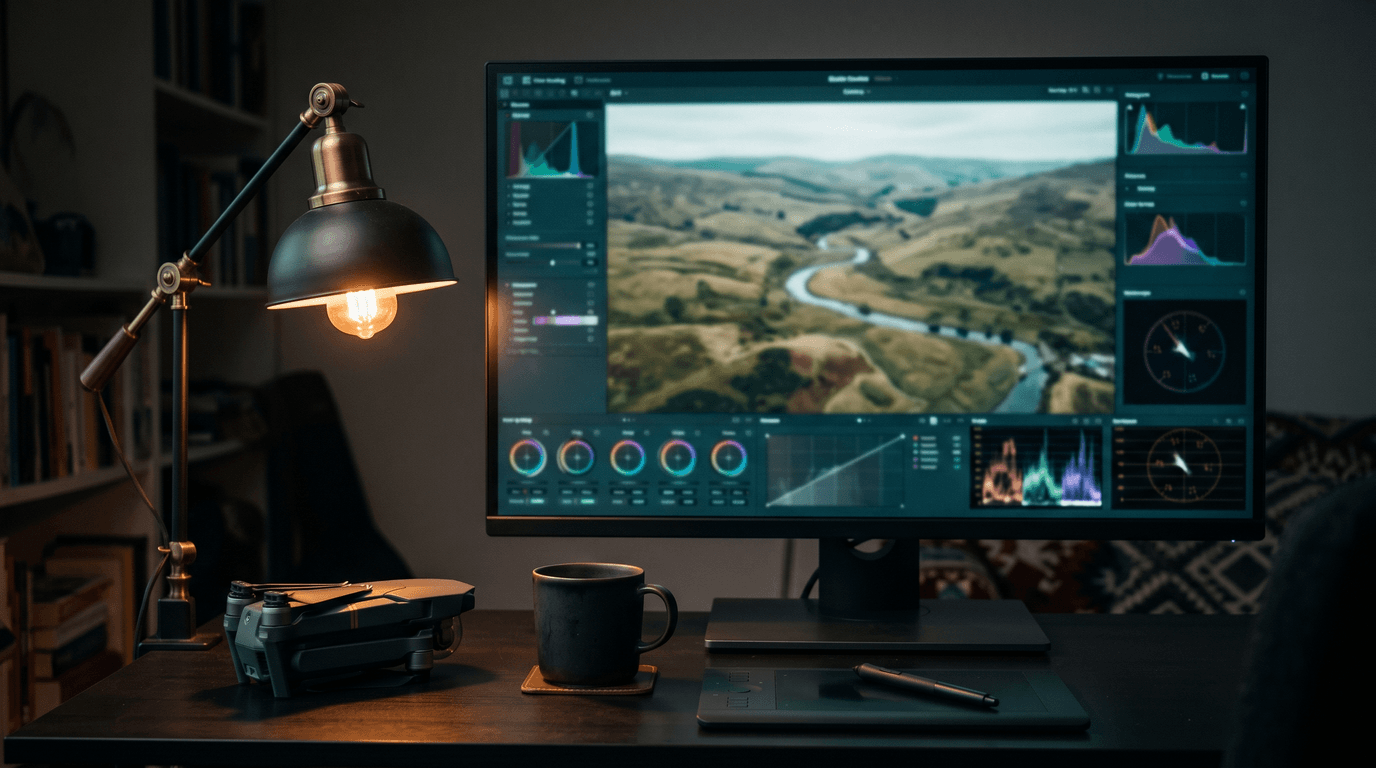
Why does a drone shot that looked spectacular on the controller screen come out of the camera flat, gray and slightly crooked? Because that is what an unprocessed aerial file looks like. A small sensor, a wide lens and hundreds of meters of air between camera and subject all drain contrast from the frame. Drone photo editing is not cheating — it is the second half of the shot. This article covers the post-processing basics that separate a usable aerial image from a phone-gallery reject. No product picks: everything below works in any serious RAW editor, any NLE, and to a lesser degree in the manufacturer apps for quick edits.
Photos: the RAW workflow
If you shoot JPEG, the camera has already made the big decisions — exposure curve, white balance, sharpening — and thrown away the data it did not use. RAW keeps the sensor data, and aerial scenes are exactly where that matters: a bright sky over a dark forest is a high-contrast problem a small drone sensor cannot solve in one exposure.
The standard sequence in a RAW editor:
- Set overall exposure — get the midtones right first, ignore the sky.
- Pull highlights down — recover the detail in bright sky and water reflections.
- Lift shadows moderately — forests and building shadows hide detail, but lifting too far reveals noise fast on a small sensor.
- Apply dehaze last, and gently — this is the aerial-specific move. Atmospheric haze grows with distance, and from altitude everything is distant, so drone files respond to dehaze more than ground-level photos do. A small push restores contrast and color separation; a large one produces noise, halos along the horizon and navy-blue skies.
Horizon and lens correction
A tilted horizon is the single fastest tell of an unedited drone photo, and the fix costs a sliver of the frame nobody will miss. Do it on every shot with a visible horizon, especially over water, where even a one-degree tilt reads as a mistake.
Right after that, enable the lens profile. Drone cameras use wide lenses with predictable barrel distortion and corner vignetting, and mainstream RAW editors ship correction profiles for popular drone models. One checkbox removes the curved horizon and the dark corners.
Color: the saturation trap
The classic drone-photo failure is not underprocessing — it is oversaturation. Aerial landscapes already contain large fields of a single color: green forest, blue water, yellow rapeseed. Push the saturation slider and those fields turn radioactive long before skin tones or gray asphalt show a problem.
Working rules that hold up:
- Prefer vibrance (or its equivalent) over global saturation — it protects already-saturated areas.
- Judge greens against memory of the real place, not against what looks impressive at 100% preview.
- If the sky is turning cyan or the forest looks like a sports pitch, step back two moves.
Restraint is a style decision that ages well; the neon look does not.
Panoramas and exposure brackets
Two merge techniques cover most of what a single drone frame cannot:
- Panoramas. Overlapping frames stitched into one wide or vertical image get around the resolution limit of a small sensor. Most drones automate the capture; merge in the RAW editor rather than trusting the in-app JPEG stitch, and you keep the RAW latitude for the steps above.
- Exposure bracketing (AEB). For sunsets and high-contrast scenes, merging three or five bracketed frames keeps both sky and ground — cleanly, where a single-file "HDR look" slider only imitates it.
Video: log footage needs a grade
If you followed the advice in the drone camera settings article and shot a flat or log profile such as D-Log, the clips on your card look gray and low-contrast by design. Log spreads the sensor's dynamic range across the file for later processing — a negative, not a finished picture. Manufacturers acknowledge this directly: DJI publishes official D-Log-to-Rec.709 conversion LUTs for exactly this step. If grading holds no interest for you, shoot a standard color profile instead — flat footage without a grade is the worst of both worlds.
Correct first, grade second
Beginner grading goes wrong when the two steps blur together. Keep them separate, in order:
- Correction — technical normalization: exposure to a consistent level, white balance matched across clips, log conversion applied (a manufacturer LUT is a legitimate starting point). Every clip in the timeline should look like it came from the same camera on the same day.
- Grade — the look: color balance shifted warm or cool, contrast shaped, one deliberate direction for the whole film.
Grading before correcting puts the look on clips that do not match — and it falls apart at every cut.
Stabilization: fix it in flight, not in post
The gimbal already gives drone footage its stability, and it costs no image quality. Software stabilization always crops the frame — the algorithm needs margin to shift the image — and on rolling-shutter footage it can add a wobble of its own. Use it as a rescue for a clip ruined by wind, not as a default pass. If most of your clips need it, the problem is flying technique or conditions, and post cannot buy that back.
Pacing: cut shorter than it feels
Aerial footage changes slowly. A ten-second clip that felt dynamic in flight plays as five seconds of content and five of waiting. Practical defaults:
- Most aerial clips earn 2–6 seconds of screen time.
- Pick the music first and cut on its beat — music-driven editing hides the slowness of aerial motion better than any transition effect.
- One kind of movement per clip: a shot that pans, rises and yaws at once reads as drift, not intent.
The failures that mark a first edit
Three mistakes show up in almost every beginner reel: over-sharpening, which draws bright halos along rooftops and the horizon; the HDR-look overkill of maxed shadows, crushed highlights and glowing edges; and white-balance shifts between clips, where the same lake reads blue in one shot and green in the next because the camera stayed on auto WB. The first two are one-slider restraint. The third is fixed in correction — or avoided by locking white balance before takeoff.
But first: fly legally
Editing improves footage; it does not legalize it. A clip shot over people or inside a restricted zone is a problem no grade can fix, and in the EU most camera drones put the pilot under registration and competency rules. The baseline in Latvia is the free online A1/A3 exam at CAA — details in how to learn to fly a drone. Sort that out once, and every flight after it is material.
Shooting more than editing? Get the capture right with drone camera settings, and clear the legal baseline with the course — the theory in exam order, at your own pace.